Arrow Panels Part 2: Arrow Decals
If you’re here, chances are you’ve already gone through Arrow Panels Part 0: Restoring Polycarbonate or Arrow Panels Part 1: Making New Panels. Here you’ll learn how to create, print and apply graphics to apply to clear arrow panels.
Project Breakdown
Cost: $40-80
Time: 2 Hours
Skill level: Medium
What You Need
A set of polycarbonate arrow panels
Sheet of printed arrow decals
2 x White adhesive vinyl (5 pack)
Credit card (or other plastic card)
X-Acto knife
Cutting mat (or other surface to cut on)
Spray bottle
Dish soap and water
Download all files used in this tutorial
arrow_design_files.zip
File type: ZIP
Size: 115.6 MB
Step 0
Before you get started, you’ll need some graphics.
If you haven’t designed arcade graphics before, they need to be high contrast. This means blacks, minimal transparency, and bright colours. What looks good on screen doesn’t always look good on print and subtle details get lost in application since distance and real-world lighting play a huge factor in how your design looks.
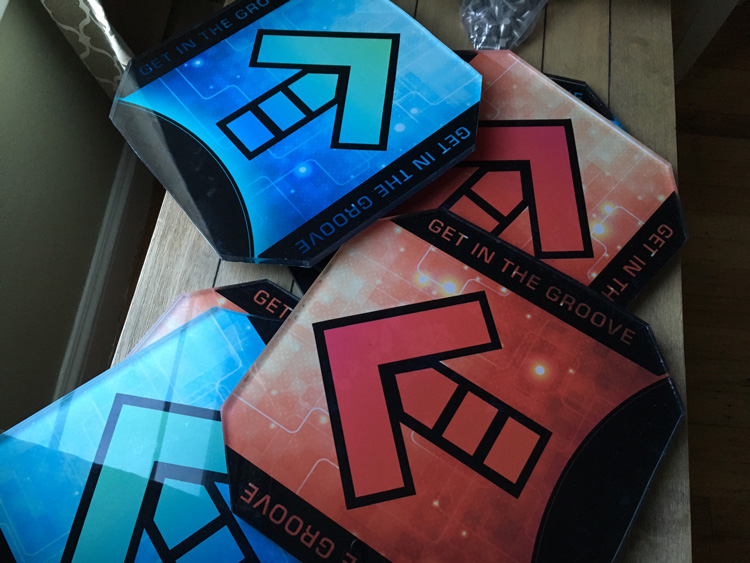
When I was going through this process, I designed a set of arrows with tribute to the original In The Groove designs. And they didn’t turn out too bad! My mistake was with the transparency shown in the borders and outline of the arrows. This simply didn’t turn out as I’d hoped in print and they ended up looking slightly dull once I had them applied to the arrow panels.

Arrow decals attempt one. Teachable moment right here.
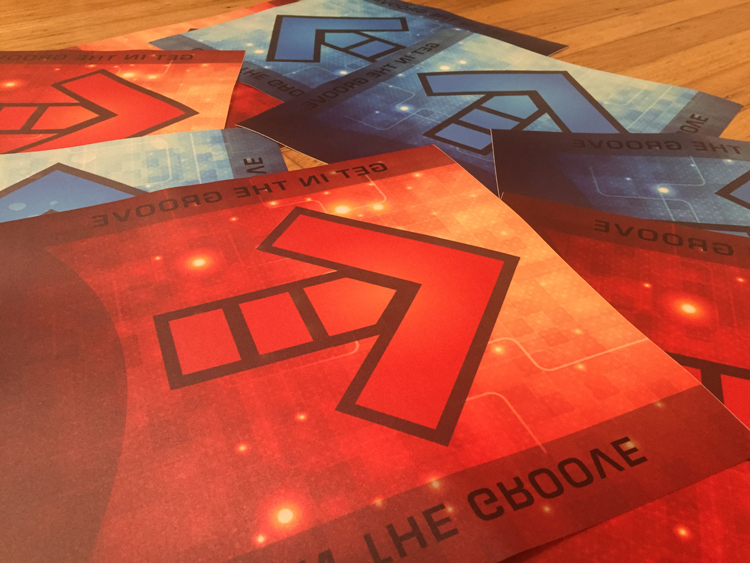
Because I’m materialistic and a snobby designer, I decided to splurge and reattempt the printing process. This time I heightened the contrast of the arrows, eliminating transparencies and added more black.

Arrow decals attempt two. Dat contrast tho.
The latter is way too vibrant for anything I’d create for screen use, but made a world of difference when the panels were done.
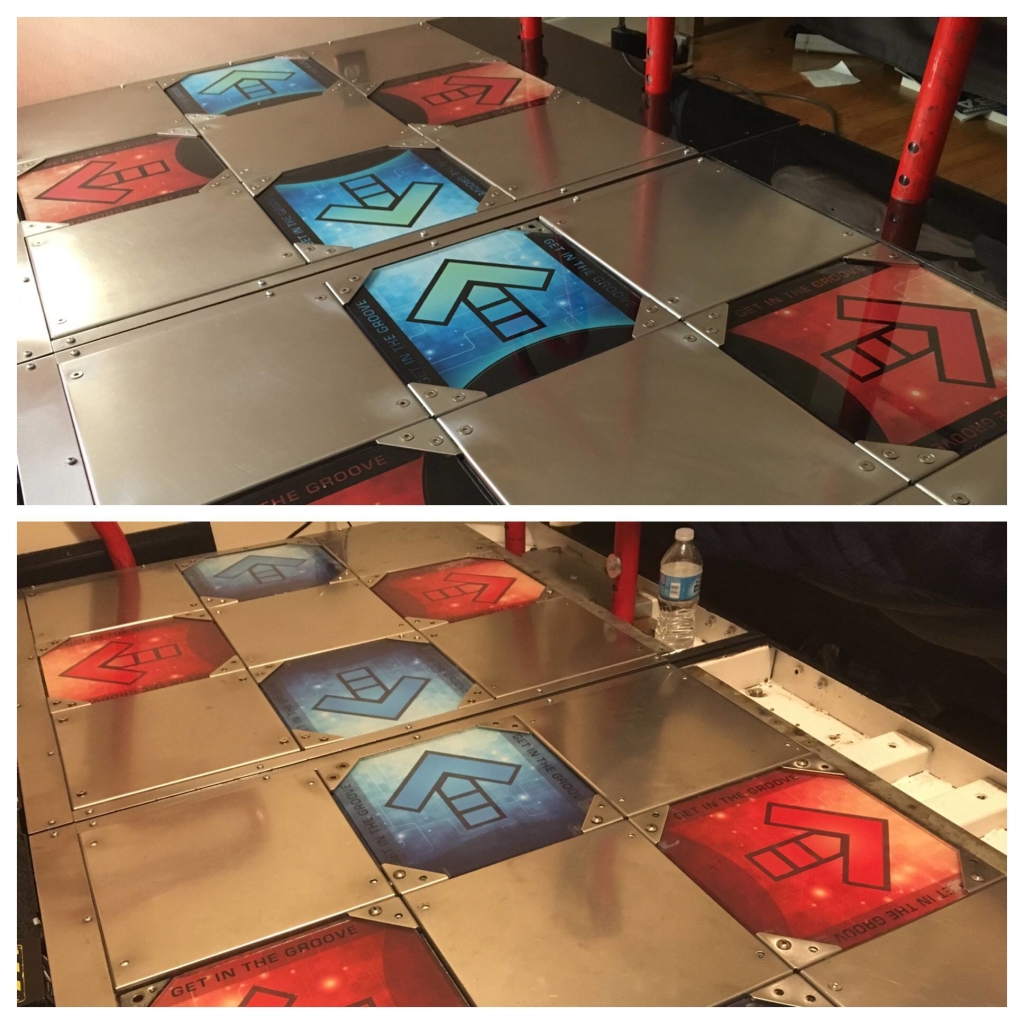
New vs. old
Now that we have that covered, time for you to make some graphics.
Step 1: Setting up a design file
If you like the graphics shown here, you can download the EPS file to print or use as a template. This file comes with crop marks (for cutting) and bleed (extra artwork so you can cut along the edges). The file comes in a single 34×34″ sheet.
RGB_arrows_print_v4.eps.zip
File type: EPS
Size: 112.7 MB
Dimensions: 34 x 34″
If you’re making your own, each arrow should be 279.4 mm (11″). This gives you enough extra artwork for bleed, which will be trimmed off in the later steps. The actual dimensions of the cut graphic will be 274×274 mm.
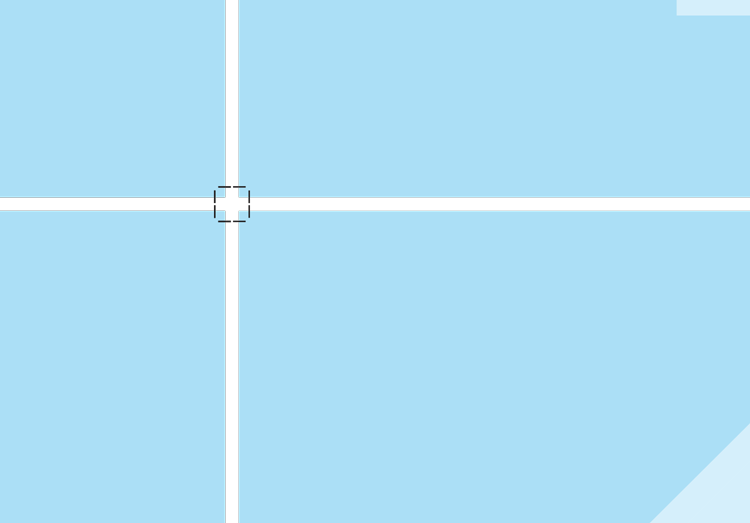
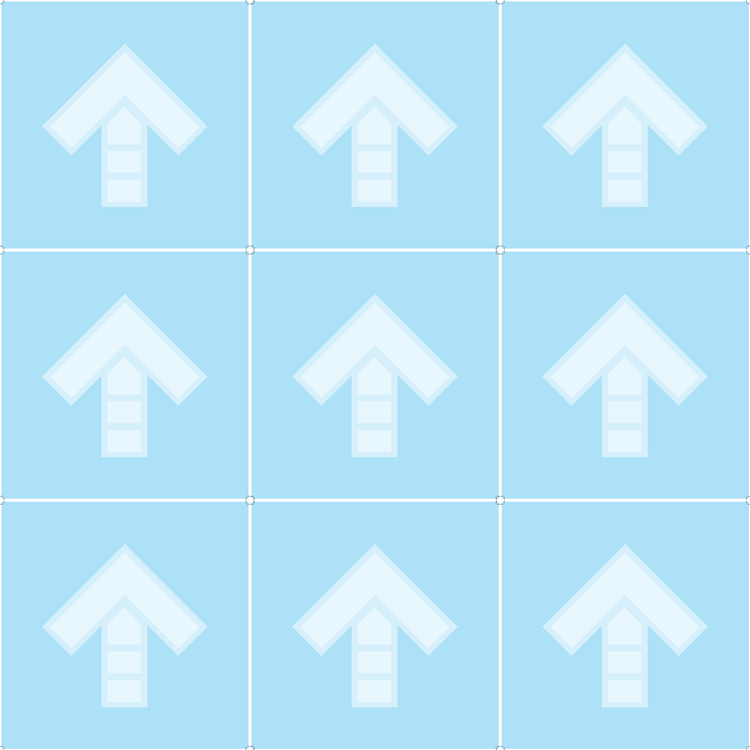
When working on your design, be sure to allow enough clearance for bleed and brackets. Use the guide below to help place your artwork.
![]()
To help get you started, download the design clearance template for use in Adobe Illustrator.
arrow_design_clearance.ai.zip
File type: AI
Size: 618KB
Dimensions: 11 x 11″
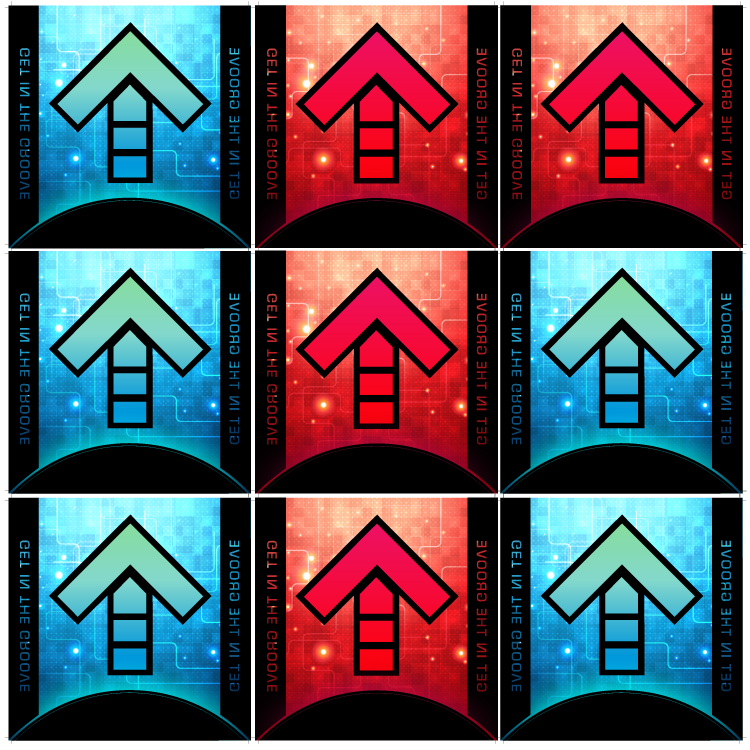
One done, you want to reverse the graphic. This is because it will be printed on transparent vinyl with the adhesive side stuck to the underside of the arrow. This means the graphic is essentially reversed once applied, so you want to reverse it at the design stage to correct it.

Once your artwork is complete and the design is reversed, add crop marks to the graphic. The marks indicate where to cut in the next steps and will trim the artwork down to the exact size fitting the width and height of the panel.
A crop mark. Exciting stuff.
Next, align your graphics on a 3×3 grid before sending to the printer. You could opt to get them printed individually, however I’ve found printing costs are reduced significantly if you spend 15 minutes cutting the pieces out yourself.
arrow_print_template.ai.zip
File type: AI
Size: 1.6 MB
Dimensions: 33.4 x 33.4″
Step 2: Printing
The arrow material should be printed on clear adhesive vinyl. Some printing places refer to this as “window decals”. The reason for this is you need the graphic adhered to the bottom of the graphic, and most places won’t print on the adhesive side of the material. If you use opaque material, the design won’t show through the arrow.
I got my graphics printed at BannerBuzz, and the quality was okay. I end up having them reprint because my first batch came out in poor quality, but they’re cheap and quick. Any print service will work for this that does large format printing on clear adhesive vinyl.
When ordering, make sure not to select any option that says “Reverse” printing. You already did this step.
Step 3: First cut
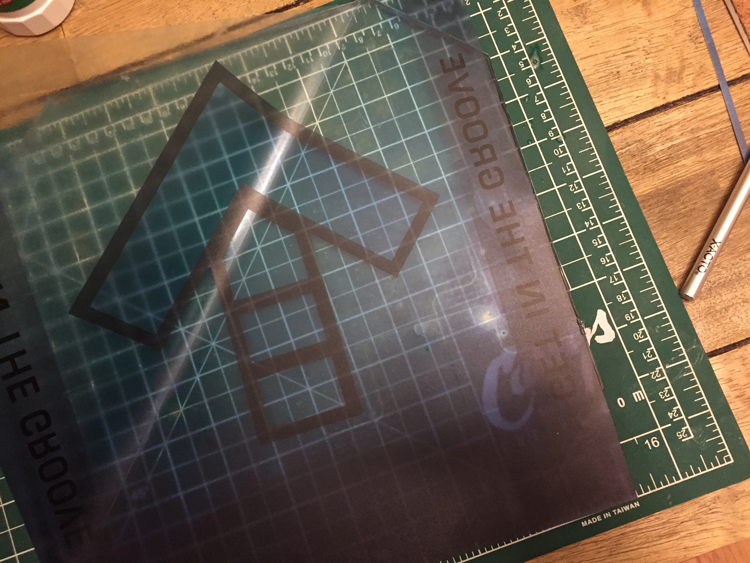
Once you have your decal sheet printed, it’s time to cut. Do a rough cut to get your decals in individual pieces. This doesn’t need to be precise, just don’t, y’know, slice through the middle of the sheet.
Step 4: Second cut
Be careful during this stage since you don’t want to mess it up and cut your decals the wrong way.
Grab a ruler and match it to align the crop marks on the top side of the decal.
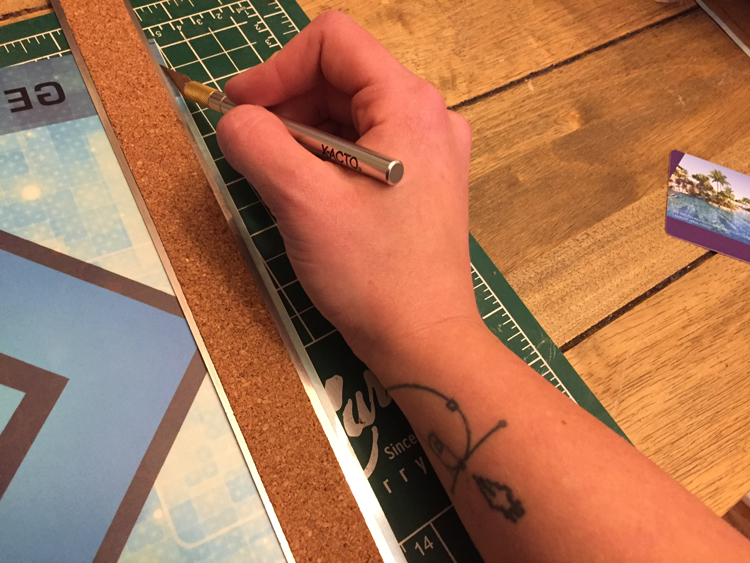
Don’t slip!
Apply firm pressure to the ruler since you don’t want it to slip while cutting. Do not do all the sides yet. I found it easiest to only cut along the edges of the top and right sides, and cutting the remainder off the panel once it’s applied. If you cut all four edges it will make alignment more difficult when applying the decal.
Make the cut and repeat for the right side.
Step 5: Spray
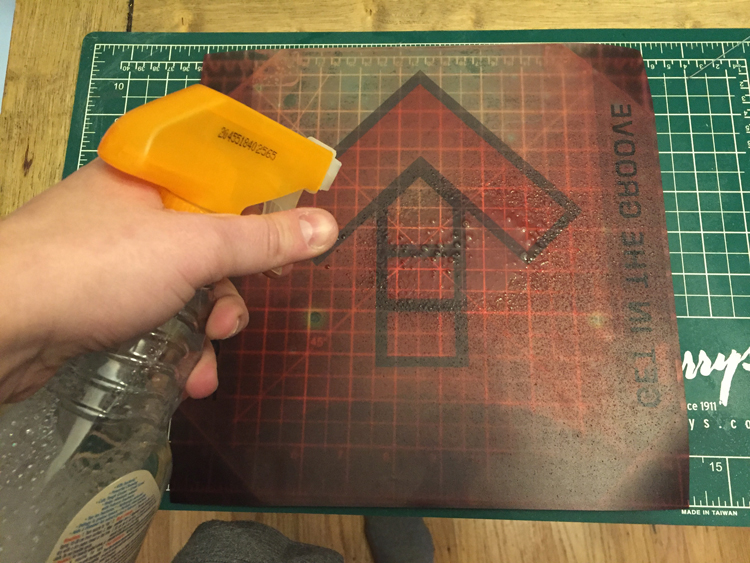
Grab your arrow panel! Fill up a spray bottle with a tiny drop of dish soap and water.
The water and soap allow you to move the decal around as you try and apply it. Once applied the soapy water dries leaving you with a good seal. Make sure not to use too much soap — a drop is enough.
Apply a thin layer of spray(1-2 sprays max, just enough to cover the surface) onto the underside of the panel. It’s not a big deal which side you use, though if you have some scratches you may choose one side or another. This is the side which will sit directly on the sensors.
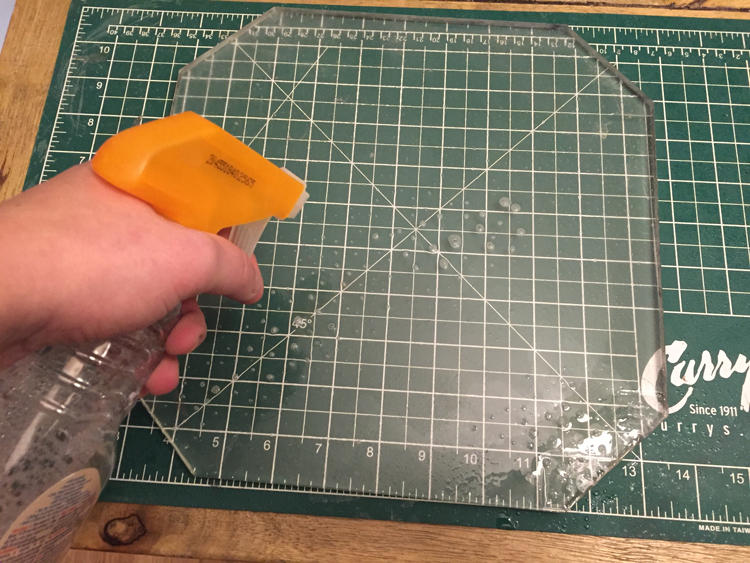
Don’t overdo it!
Step 6: Decal application
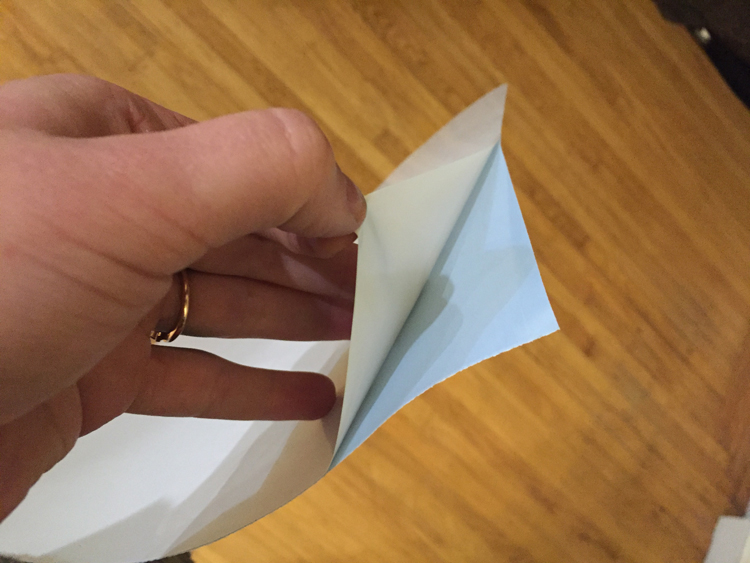
Carefully remove the decal from it’s protective backing.
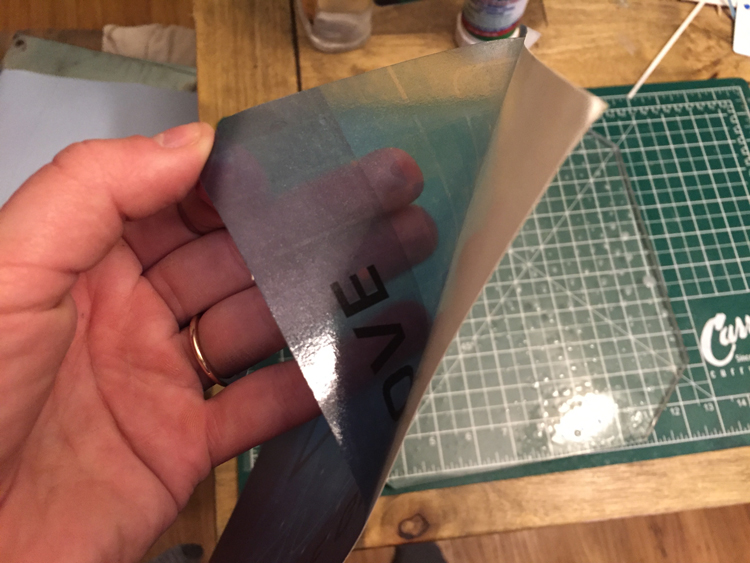
Align the top/right edges to the sides you cut away, adhesive side down so it sticks to the panel. It may take a few tries to get right; that’s what the soapy water is for.
Step 7: Get the water out
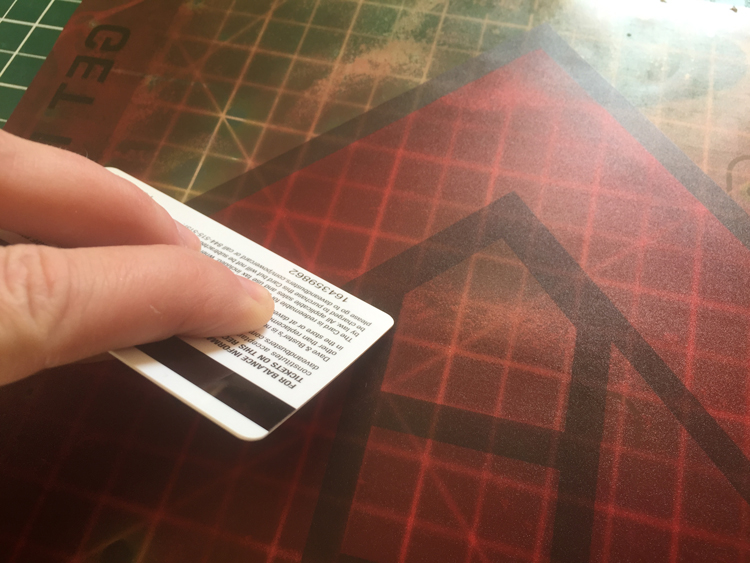
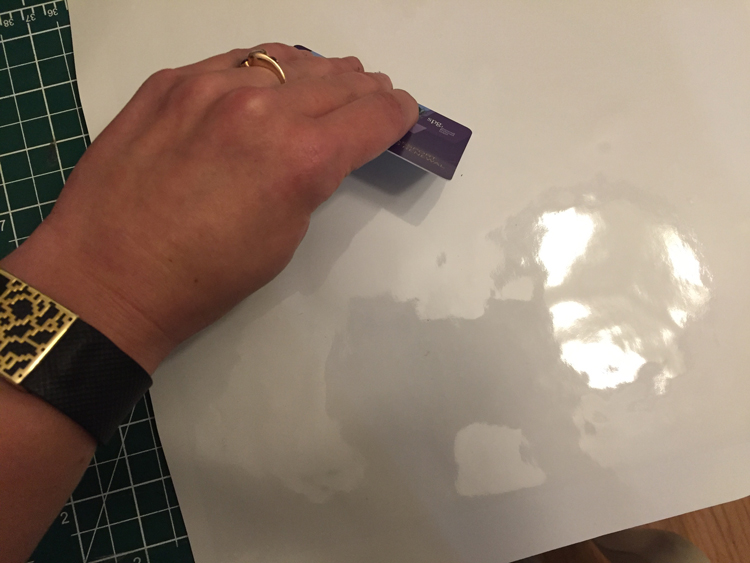
Once you have the decal aligned with the top right edges, grab your credit card (or something thin and plastic) and gently run along the edges of the decal to get any soap and water out.
A good technique for this is to start from the middle and work outwards to the diagonal corners. Move the card slowly with firm pressure, held at an angle. Take your time with this step as you don’t want any bubbles left over.
Extra water will get on your table. Deal with it.
Once you’ve gotten out all the bubbles, let this dry for about 30 minutes.
Step 8: Applying the white vinyl
Right now your arrows should be looking alright, but since they’re still translucent it doesn’t do much for the design. Light from the panels will blast right through them. Using white vinyl as a sealer helps to amplify the colour of the decals while diffusing the light from the arrow panels.
Repeat steps 5-7 on the white vinyl.
Spray
Peel
Apply and scrape
Step 9: Final cutting
Now with the decal and white vinyl adhered to your pad, trim down the edges.
Hold the panel down firmly with one hand. As with the ruler, you don’t want this to slip while you’re cutting.
Cut along the edges of the panel with the X-Acto knife. Apply firm pressure with the knife to ensure you get a clean cut.

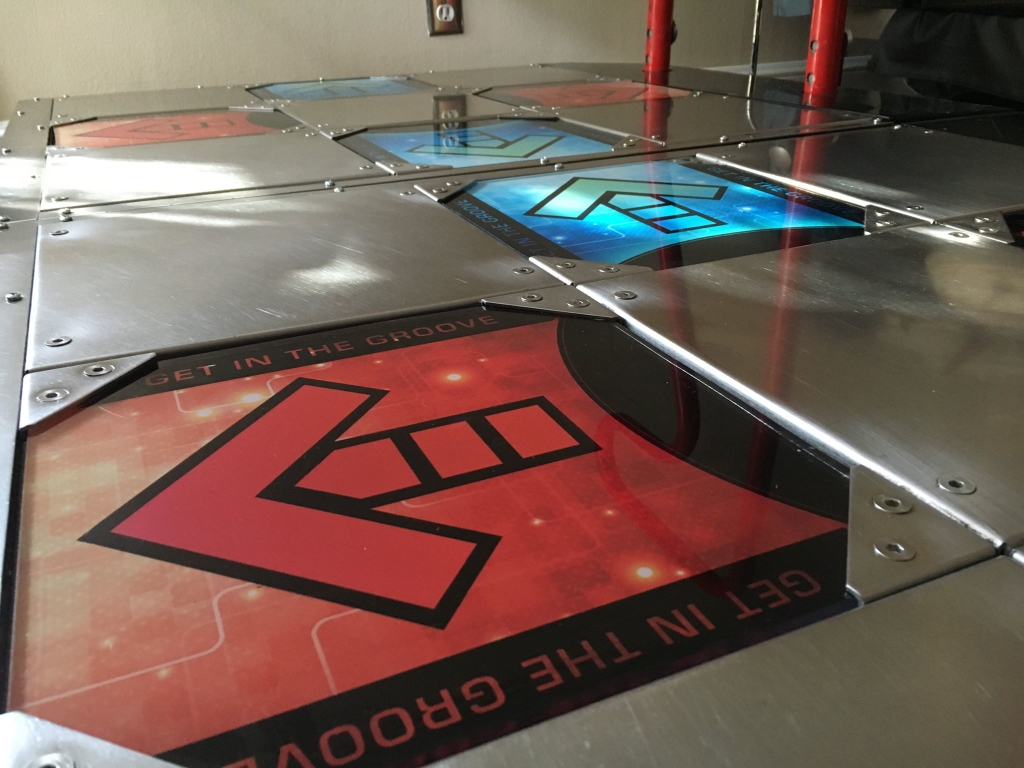
Step 10: Done!
Repeat these steps for all 8 of your arrows and you’re good to go. Toss ’em back in your pads since you’re ready to play.
0