Diffusing Lights
Arcade marquee lights, while attractive, lend themselves poorly to gameplay. These things are bright. It’s not exactly enjoyable to have the peripheral glare of a dying sun burning your retinas, which is probably why most of us hang a jacket to cover them up.
Thankfully it’s a simple and cheap fix to diffuse the lights with paper and even change the colour with gel filters. As an added bonus you can stop using your cabinet as a coat rack.
Project Breakdown
Cost: $25
Time: 1 hour
Skill level: Low
What You Need
Transparent film gel (optional for colour)
White cardstock
X-Acto knife
Cutting mat (or other surface to cut on)
Single hole punch
Phillips head screwdriver
Step 1: Removing the lamp covers
Each lamp cover has two screws in the side which secure them to the cabinet. Remove both screws and remove the front of the lamp. Lightly put the screws back into their original holes for safekeeping.
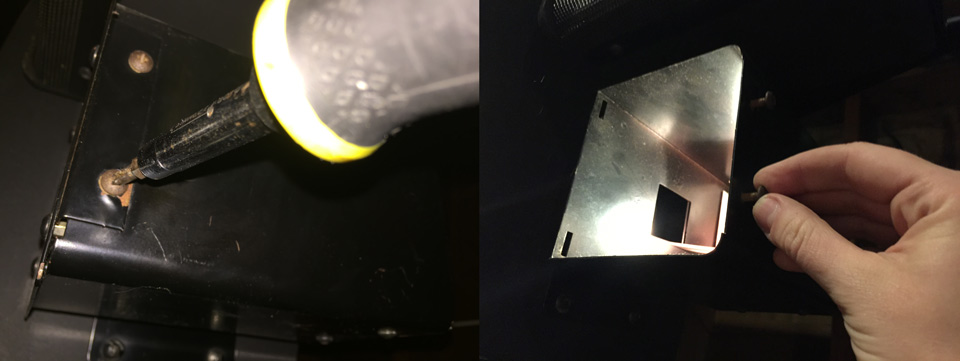
Step 2: Disassembling the covers
Remove each of the four screws holding the cover together and separate the plastic from the metal cover. Don’t lose these, they’re a pain to replace. Put all screws and bolts in a safe spot.
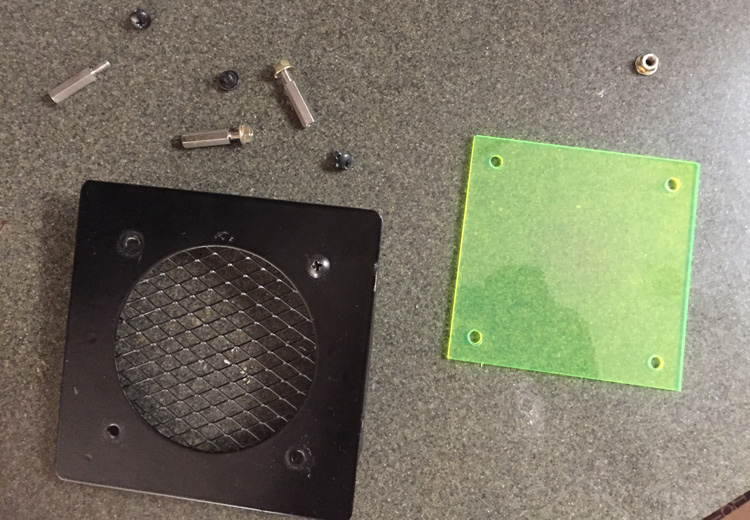
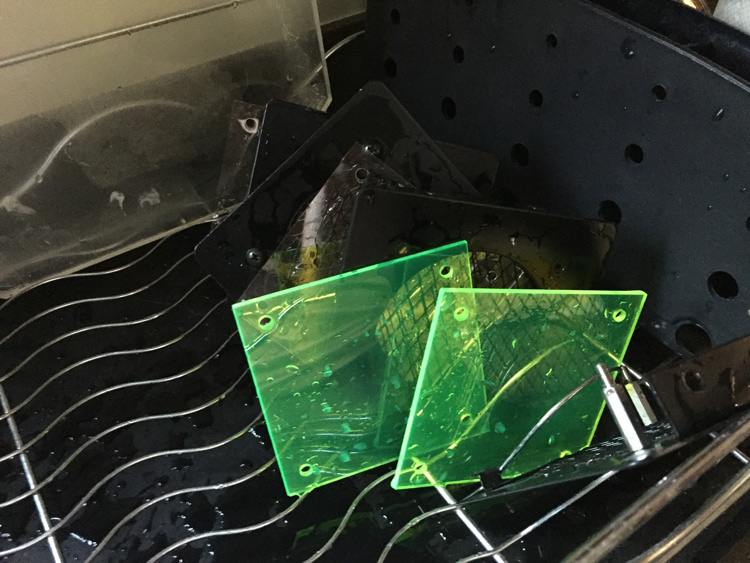
While you’re here, give these a wash. They’re probably icky.
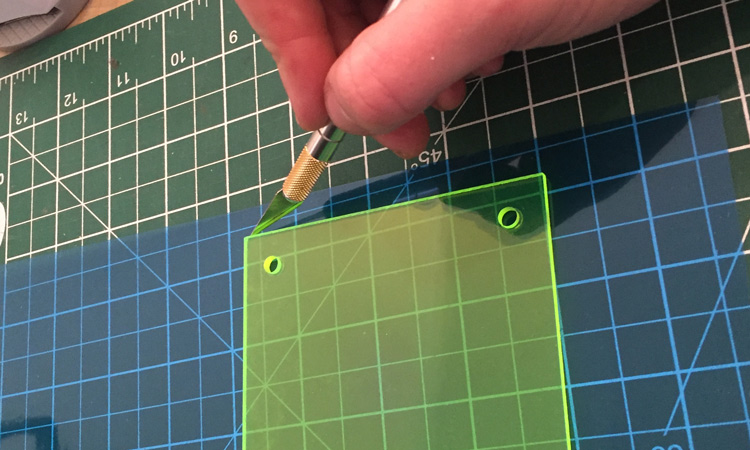
Step 3: Making diffusion filters
Grab the plastic covering from the cover.
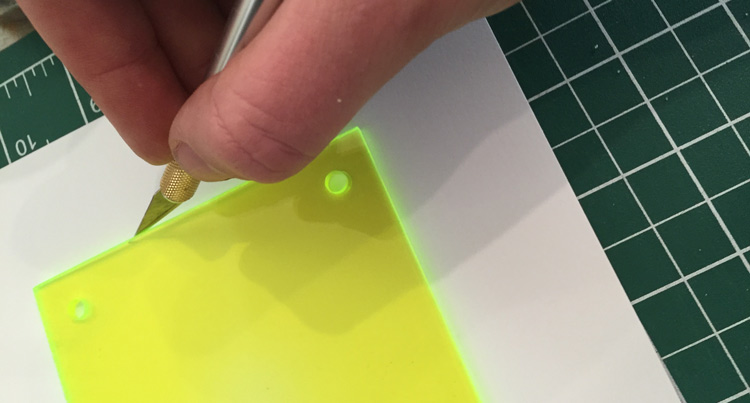
Overlay the cover on your cardstock and trim around the edges with your X-Acto knife. Depending on how muted you want your lights, you can layer on sheets. Each piece of cardstock with increase the amount of diffusion.
If you want to change the colour of the lights, you can use film gel as an overlay. However, if you have a coloured plate (like the green ones from my cabinets) take that into account as any existing colour will blend the colour. Kind of like mixing paint.
I chose a bright blue filter as I wanted an aqua colour in the end for my lights.
Green + blue = uh… greenish blue.
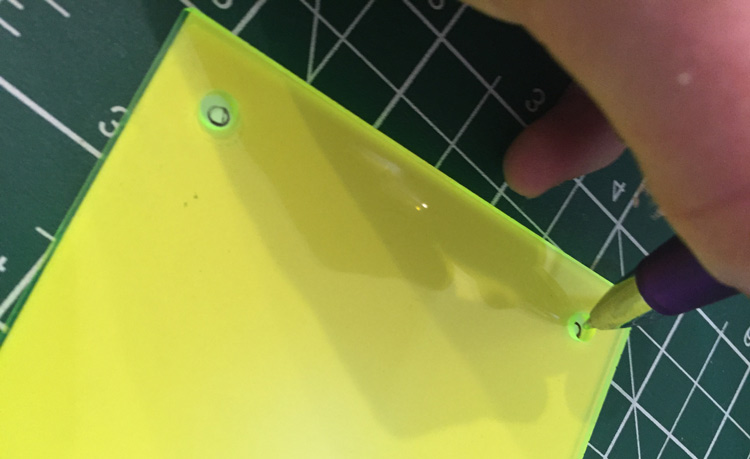
Step 4: Holes
Grab the new squares you’ve cut out and take your original plastic filter and align it on top.
Using a pen, mark the holes on the filter.
Cut these out with a hole punch.
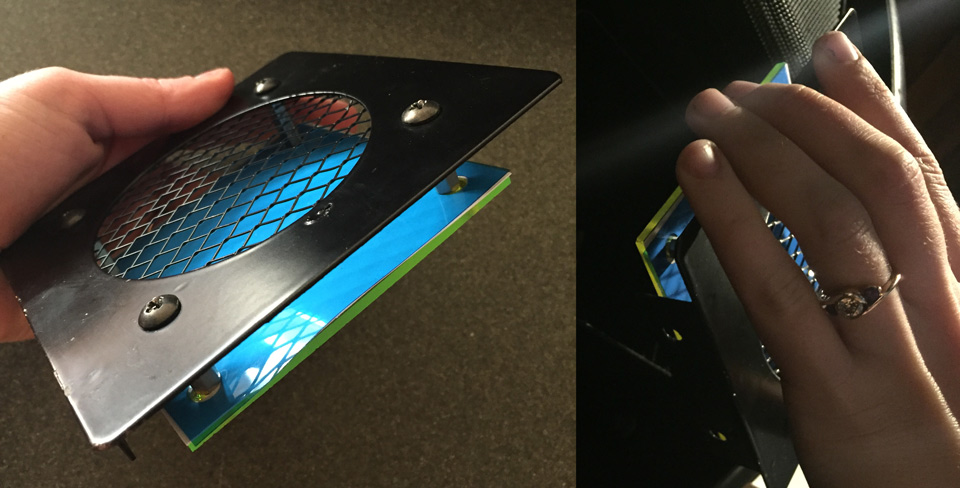
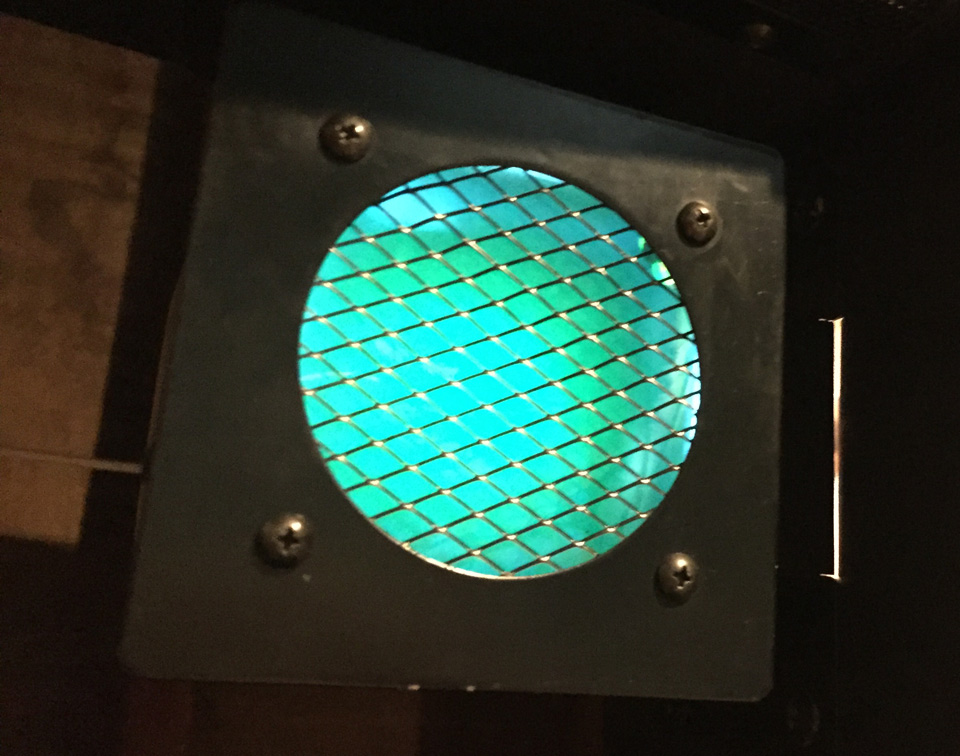
Step 5: Reassemble
Reassemble the light cover, adding your new filters (it doesn’t matter much if these are placed behind or in front of the original plastic sheet).
Screw these back into your machine and you’re done!
0