Foam Modding L-Brackets
Guest article written by Andy Thompson
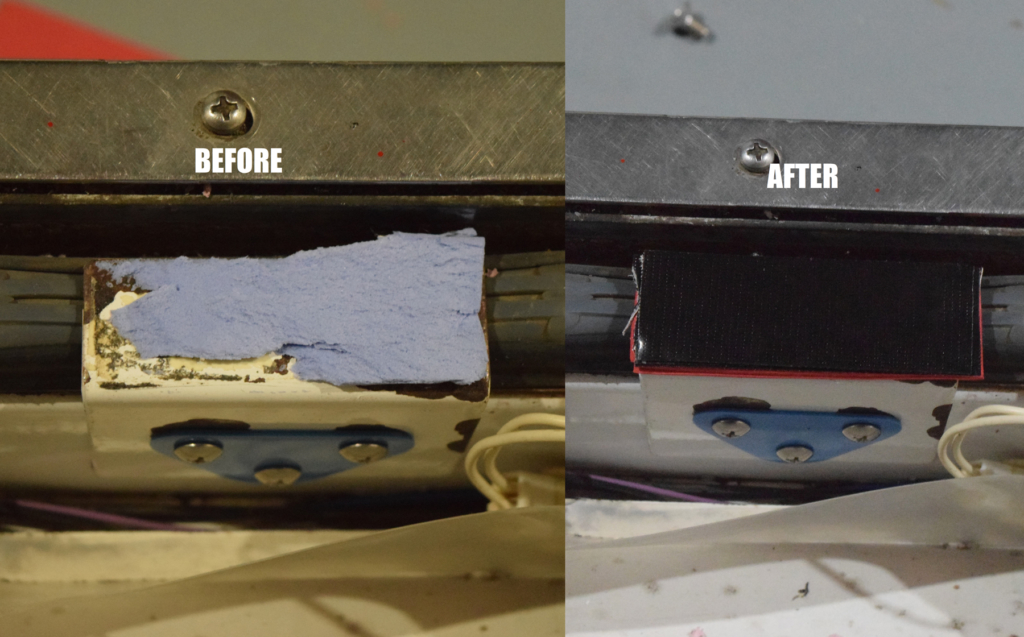
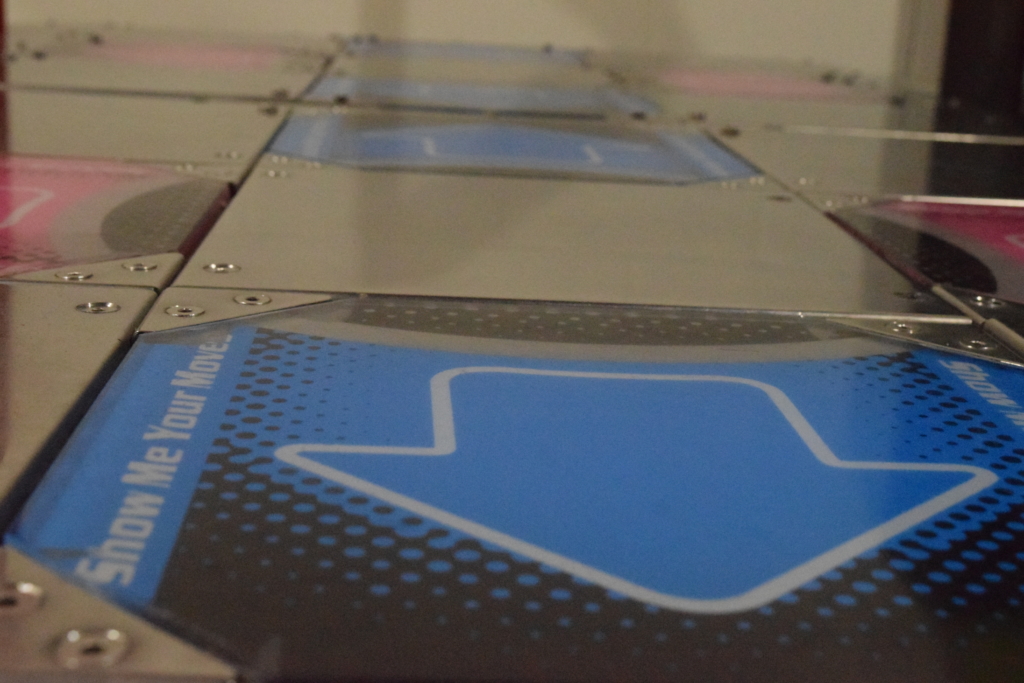
The most common modification done to any DDR/ITG machine is foam modding the L-brackets found inside of the pads. This raises the arrows to be more in line with the adjacent metal plates and brackets on the pads. Doing this can make it require less movement to hit each arrow and depending on your playstyle, less energy. Modding the L-brackets is a balance and getting it right is definitely a trial and error process. One thing to note is as the arrows become flush you will begin to lose some of the feel from the sunken in arrows.
This guide will show you how to modify the brackets with foam and a few other tips to increase sensitivity of the pad arrows.
Project Breakdown
Cost: $25
Time: 5 hours
Skill level: Low – Medium
What you Need
Scissors
Gorilla Tape
Adhesive Foam sheets
Business Cards
Scraper
Step 1: Sensor Placement
If you are limited in the number of sensors a key part of the process is to install the best sensors in the best positions. You will want to test each sensor to ensure they can be triggered without too much effort. Consistency is going to be the key factor when determining the best sensors.
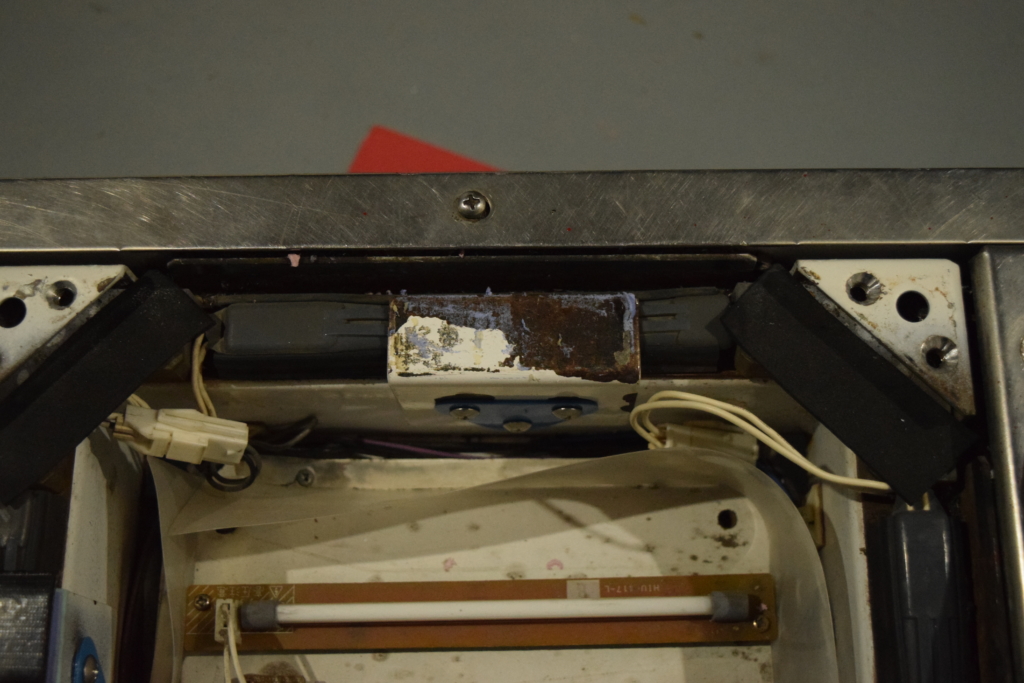
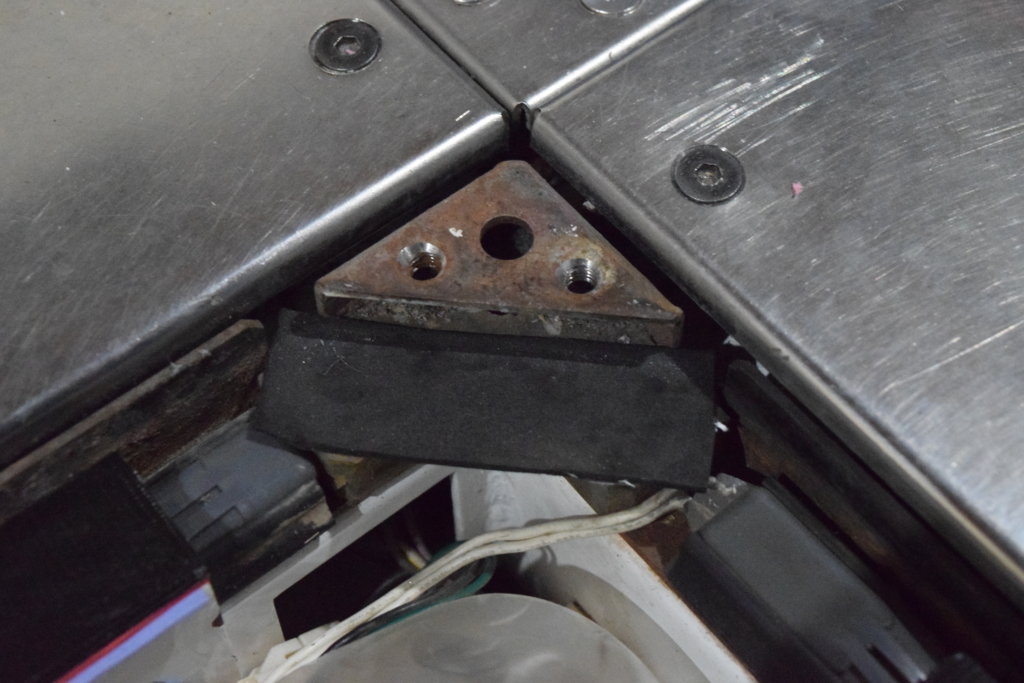
To remove the sensors, first unscrew the three screws holding the L-bracket in place. Do not use a screwdriver as you really don’t want to strip these. If you do not use custom spacers (like the blue ones seen in the below pictures) be sure to place the screws and the washers in a safe place so they don’t get lost.
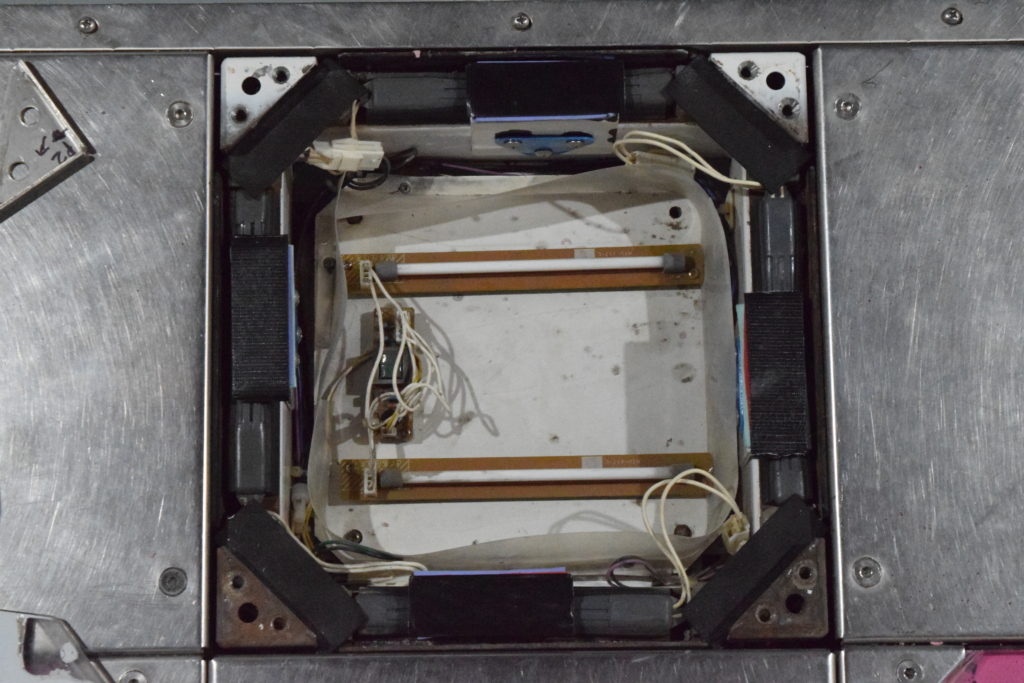
The sensors can be easily disconnected by pinching the white connector which connects it to the pad wiring. Remove the sensor from the channel and push into another slot to rearrange.
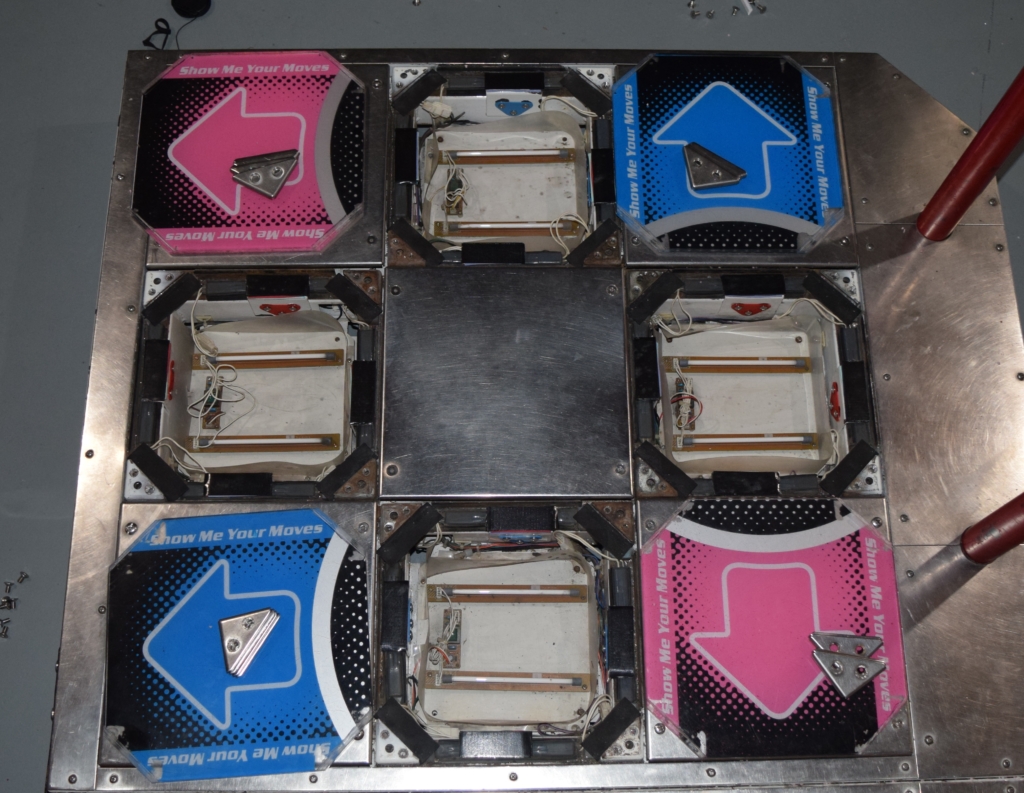
The best sensors should be placed in the innermost position. The least consistent should be placed on the outside with the exception of the outside sensor on the right arrow on Player 1 and the left arrow on Player 2 (to assist with doubles).
You can also try to save consistent sensors which require slightly more force. I’ve found cutting a business card in half lengthwise and then folding that in half and putting it physically underneath the sensor in the rubber channel does wonders for increasing the sensitivity. Note: this may cause how much material is needed for your L brackets so doing this step before foam modding may be necessary.
Step 2: Starting from scratch
Now is a good opportunity to use the scraper to remove any foam or material that was previously installed. Try to avoid removing the powder coat from the brackets to assist in preventing rust but also work on getting all the material off so you have a smooth bracket to work with.
Goo Gone will help for removing any adhesive. Try and get this as smooth as possible; if this surface is uneven you might have a bad time as any bumps can cause inconsistency in sensitivity.
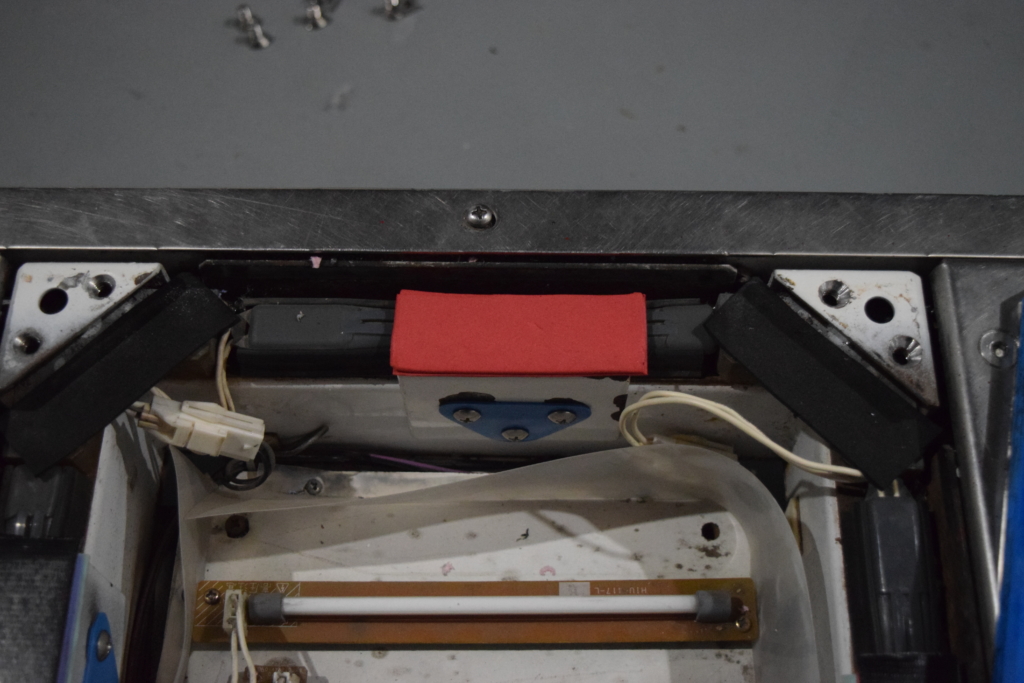
Step 3: Foam
Cut out pieces of foam the size of the bracket. The pieces should be the size of the entire flat portion of the bracket. Stick a piece of foam on each bracket for each sensor. A second piece of foam may be advisable if you need to raise the arrows a relatively large amount. You don’t want to use too much foam so it limits how much it compresses over time.
Optional: Foam on the rubber stoppers.
This step is based on personal preference but adding a layer of foam to the rubber stoppers can help level everything out and prevent the panel from wobbling. It can also help prevent noise and give a very small amount of extra cushion when stepping. This is usually encouraged if the corners of the panels have been routed down.
Modding the rubber stoppers can also help raise the panels a little bit further. Just keep in mind to adjust how much you add to the L-brackets as raising the corners also means raising the brackets.
Step 4: Final Touches
Limiting the amount of foam installed will limit having to compensate for the foam compressing over time. Gorilla tape (the “to go” version is the perfect width for the brackets) is strong and can take the abuse and compresses very little. Start applying layers to each bracket.
You will want to keep adding tape to raise the panel just to the point that the corner bracket touches but does not push down on the panel when it is screwed in. If it is raised too high this will cause oversensitivity. Oversensitivity will cause pad misses from false triggers. To test if the panels have been raised too much have panels in place and all the corner brackets screwed in. Stomp on the adjacent metal panels, If the machine registers a step then the arrows has been raised too much.
Note: Because we are using foam after some time the foam will permanently compress and cause the panels to sink slightly. Depending on how often and how hard you play you’ll want to make adjustments once the pads start to desensitize (usually after a few months with normal gameplay). Just use an additional piece of gorilla tape to raise it to the bracket.
0