Header Marquees
What’s an arcade cabinet without a glorious marquee to show off your game? Whether your marquee is faded, damaged, or it’s just time for a change, replacing the image is fairly straightforward.
My machine came with a solid bootleg 7th Mix marquee. The condition was awesome, but I had bigger aesthetic plans for my cabinet.
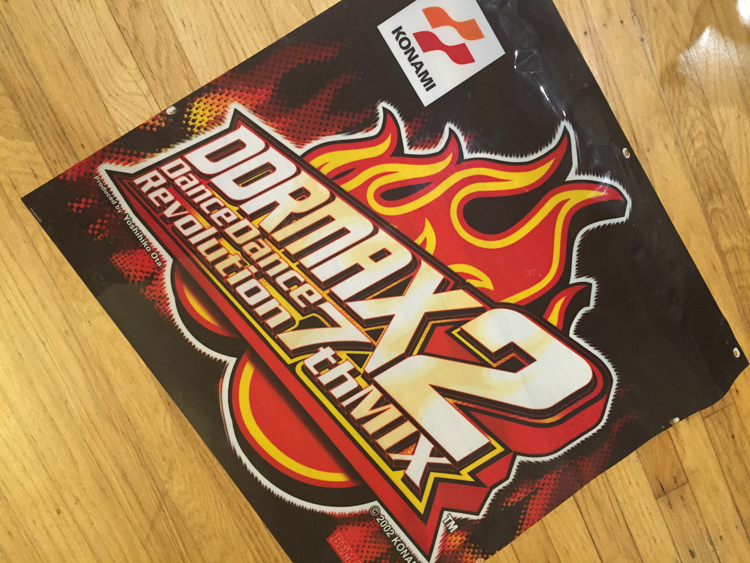
Not bad for a bootleg!
After a few iterations of design and print, ended up with a marquee I’m quite happy with. “In The Groove HD” is just fan art; the “HD” is in reference to the hours spent getting everything synced and performant in beautiful 1080p. You can use whatever image you wish to best define how you want your cabinet to look.
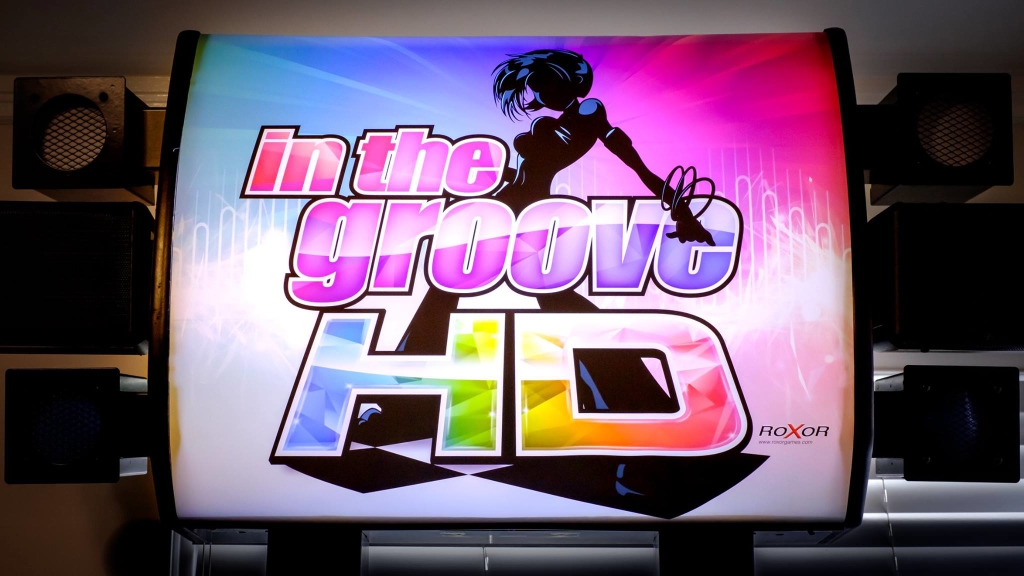
That’s hot.
Project Breakdown
Cost: $40-100
Time: 30 minutes
Skill level: Low
What You Need
A graphic to print
Screwdriver (to remove the current marquee)
Download all files used in this tutorial
hackmycab_marquee_package.zip
File type: ZIP
Size: 39.1 MB
Step 0
Before you start, you’ll need an image.
If you haven’t designed arcade graphics before, they need to be high contrast. This means blacks, minimal transparency, and bright colours. What looks good on screen doesn’t always look good on print and subtle details get lost in application since distance and real-world lighting play a huge factor in how your design looks.
Obviously, you’ll need to know what size to make the marquee. Below are stats for different cabinets. You can always grab a ruler and measure the size of your existing marquee if you have a cabinet not listed.
Credit to rhythmarcade.com for providing this information.
In The Groove cabinets
27″ x 14.46″
I’ve put together a package to get you started (clearly I’m a big nostalgic junkie for recreating the ITG artwork). You will need Adobe Illustrator and Adobe Photoshop to open and edit the files. Included in the package:
- Template for DDR marquee
- Template for ITG marquee
- Roxor logo (PSD)
- Plain vector In The Groove logo (ready for you to style)
- Print-ready PDF file for the “In The Groove HD” banner shown above

hackmycab_marquee_package.zip
File type: ZIP
Size: 39.1 MB
Tips for design
If you have the design skills to stay in a vector environment you’ll get the best quality for printing. If you’re working in Photoshop or another raster-based program be sure to set your document up in 300DPI.
I’ll talk about print sourcing in a moment, but depending on printer requirements you’ll set up your document in either RGB or CMYK. Many printers today request RGB files, but you’ll want to double-check the requirements. If the wrong colour space is used colours will turn out different than what you intended, and blacks will appear gray and washed out.
The sample files provided shows visual clearance for where to keep the important elements of your design. DDR marquees wrap around the header so any graphics placed in the pink space won’t be seen when installed.
Step 1: Printing
Depending on your budget you can go with high or low end printing. Here’s some materials and sources to consider.
Gameongraphix.com Backlit Material ($)
I’m actually not sure what material these guys use (they refer to it as propertiary) but Gameongraphix prints extremely high quality materials for cheap. I’ve been incredibly happy with everything ordered from them and recommend them for printing.
Backlit Film ($)
This is good material for marquees though not as rigid as factory DDR marquees. For my first round of printing I tried this material placed inside of the marquee. There was ever-so-slight visual warping since the film bent inwards in the middle, but it was barely noticable (and chances are you aren’t as picky as I am). Overall a good choice and is on the cheaper end of printing.
Styrene ($$)
Styrene is a plastic-like material, close to what’s used with factory arcade marquees. It’s flexible but sturdy enough to roll and conform to a marquee.
Step 2: Find a buddy
Now that you have your marquee in hand, it’s time to install.
This requires removing the DDR header. This thing is HEAVY. Grab a friend to help you move it down, this is definitely a two person job.
Step 3: Disconnecting cables
Turn off your cabinet and unplug its power source. Electricity hurts and you don’t want to mess with 220v feeding to the marquee light.
Open up the back of your machine and disconnect the speaker/light cables leading to the top of the machine.
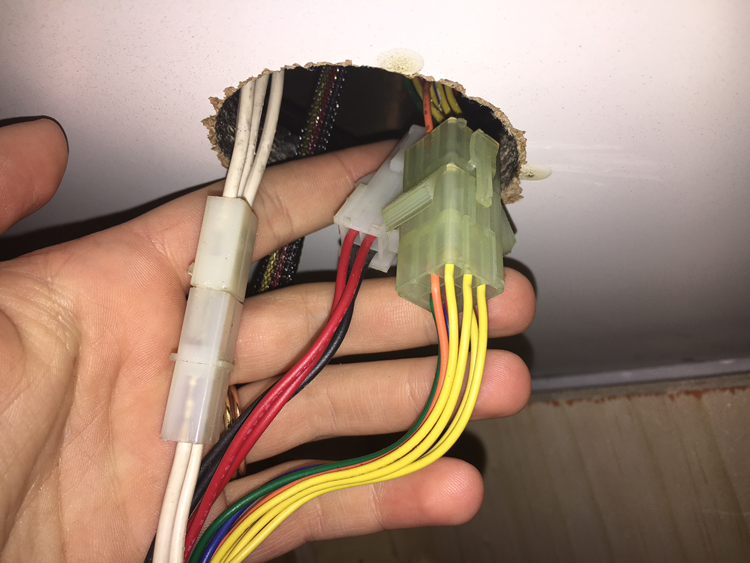
Ignore the extra cable behind my hand, it’s to power an LED.
Step 4: Remove the header
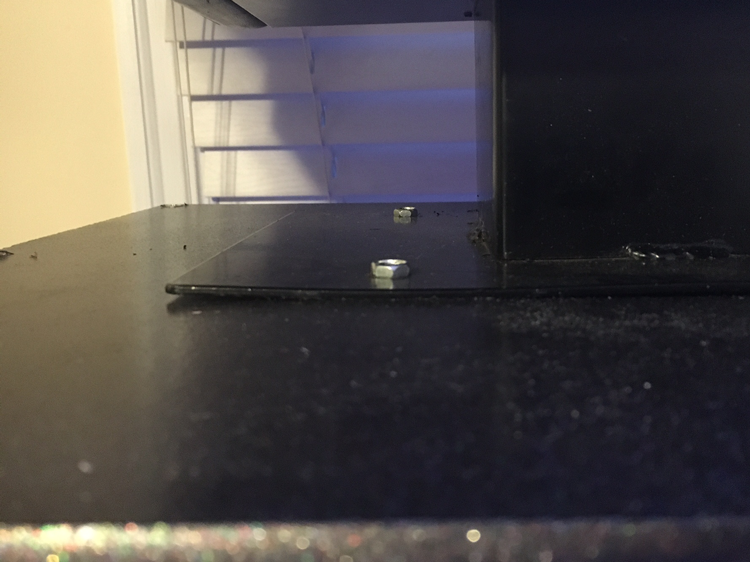
Grab your buddy and have them stabilize the marquee while you remove the screws to the base.
There are six screws which hold the marquee base to the machine. Unscrew them all (don’t lose them!) Once they’re out, carefully pull the marquee down from the machine.
Step 5: Remove the cover
FYI, the following steps will show how to install the marquee under the plexiglass. Modify accordingly if you want your marquee to sit on top of the plexi.
Once the marquee is down, lay it on it’s back. Begin removing the screws on the underside of the marquee. There should be two or three.
Next, remove the screws holding the plexi in. There’s four on the sides and four on the top (assuming all the screws are still there). If you run into any issues with stripped screws, see removing screws for help.
By now you should have something like this (mine came with three broken lamps which promptly went in the garbage).
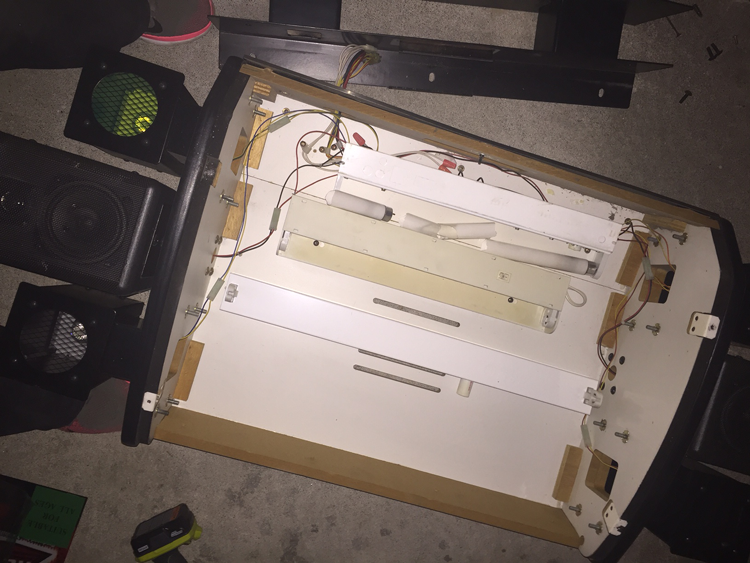
Three lamps connected to nothing. Useful.
Now is the time to clean this out because it’s probably dirty. If your lamps work great, if not you can add some LED strips.
Take your new marquee and lay it over the ridges of the header. You’ll be putting screws through it, so measure twice and screw once.
Step 6: Reassemble
Put everything back together, inverting steps 5-3. Make sure your friend is still around you help you put the thing back on top of the machine.
Screw everything back in and reconnect the cables and you’re good to go!
0