Repainting Pads
Arcade platforms face a lot of abuse leading to wear and tear on the paint. Whether your pads are chipped, scratched, or just need a refresh, giving them a new coat of paint can bring a lot of life back into the look of your cabinet.
Before you begin, please note you can’t really come back from this mod. You’ll be stripping all the paint off the pads, decals included. You’ll also be working with spray paint so make sure you have a well-ventilated area to work in.
The automotive paint listed here gives beautiful metallic flecks, similar to the finish you see on cars. Really, any spray paint should work. Choose what works for you.
Project Breakdown
Cost: $100
Time: 2 days (incl. time to dry)
Skill level: Medium
What You Need
Aircraft Remover
Wire Brush
Rubber Gloves
For dark coloured paint: Rustoleum Rust Reformer (Black)
For light coloured paint: Rustoleum Bonding Primer (White)
2x Dupli-Color Automotive Spray Paint (any colour, I used Graphite)
2x Dupli-Color Automotive Top Coat
Painters Tape
Scraper tool
Electric sander
200 grit sandpaper
Rubbing alcohol
Dust Mask
Protective eyewear
Screwdriver
Garbage bags or a plastic drop cloth
Microfiber cloth
Step 1: Preparing the pads
Disconnect the pads from the machine and from each other. There is a connection in the front of the 1P pad and another where the two pads join. Tuck the Molex connectors back inside the pad.
Move the pad to an open space. Keep it away from stuff that you don’t want to accidently paint. Be sure to set up in an area with good ventilation since you’ll be using a lot of spray paint and, well, you don’t want brain damage.
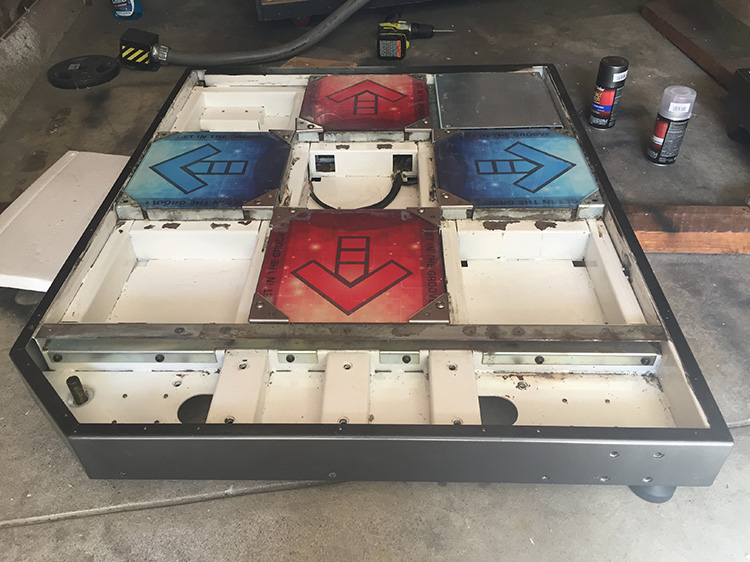
Remove all metal trim and connected objects to the pad. This includes:
- Pad connection plates
- Side trim
- Connector box
- Bar cover plates
- Bars
- Metal plates
If you run into problems with screws, see removing screws for help.
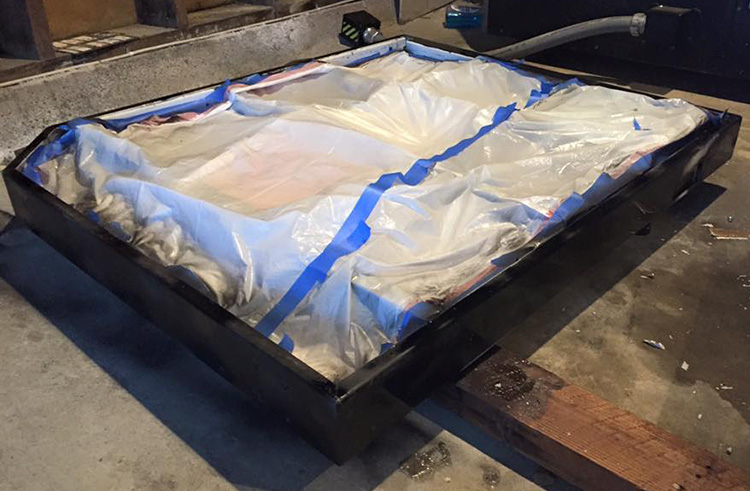
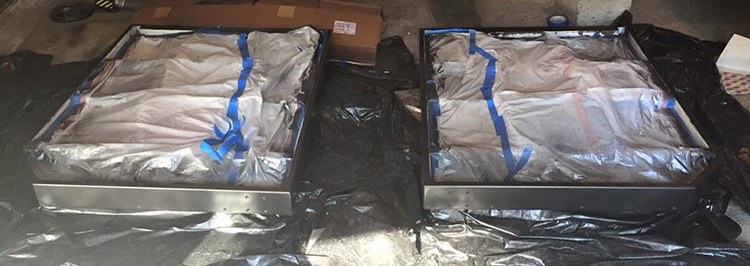
Now is a good opportunity to clean out your pad, though I won’t cover the details of that here. You may want to strip your pad of everything and paint the inside as well as the exterior. If you choose to only paint the outside of the pad, carefully cover the interior with plastic drop cloth and seal with painters tape.
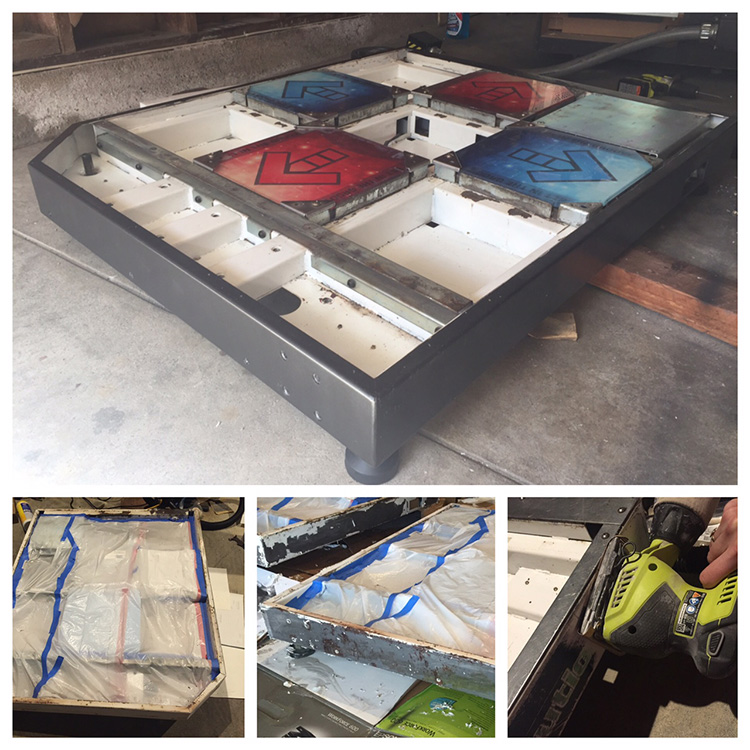
By now you should have something like this.
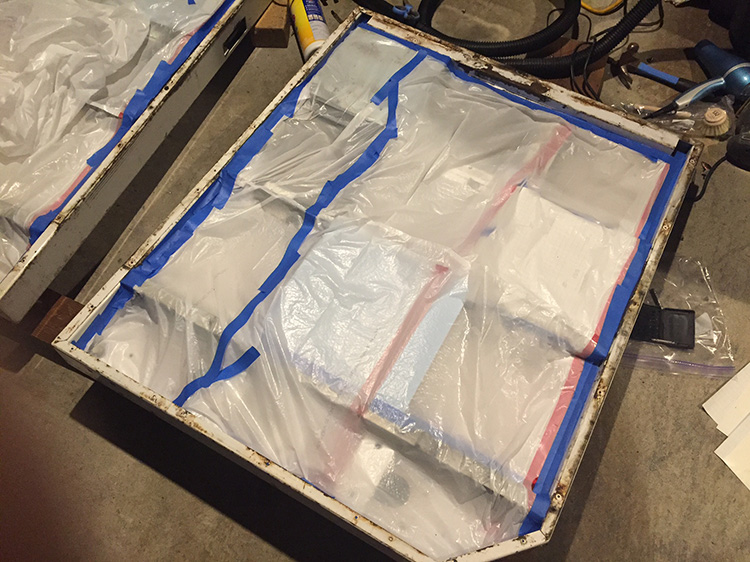
Don’t worry, it gets better.
Step 2: Removing the paint
If you have decals still on your pads that’s fine; aircraft remover is incredibly potent and will blast away any bit of anything left on the pads.
Note: Before you start with the aircraft remover, suit up. Wear a long shirt, pants, and shoes. Put on your dust mask, protective eyewear and rubber gloves. Not thin latex gloves. Chemical resistant rubber gloves. While you’re at it, open a window. Aircraft remover doesn’t mess around and will burn you. Even little flecks of the stuff will burn your skin (it’s not important how I know this).
Now that you’re all geared up, grab your aircraft remover and wire brush. Apply liberally in a thick coat to the outside of the pad. It comes out in goops and won’t apply evenly, but that’s okay.
Make sure to cover the sides and top of the trim. Do not get this stuff on your connections. Make sure you’ve covered the gaps for the connection ports in both the front and back.
Leave for about 15-20 minutes, and no longer than 30.
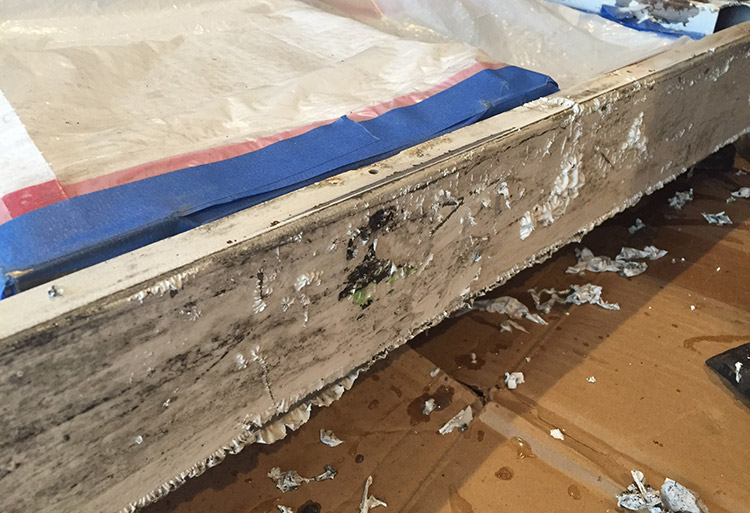
Halfway there.
Once you’ve let the aircraft remover sit, grab your scraper tool and scrape off the paint. It should pretty much fall off on it’s own with little effort as it bubbles away from the metal.
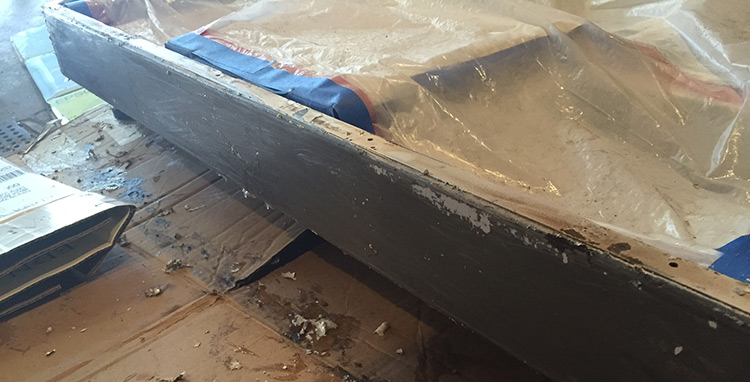
Getting there. Don’t forget the edges!
If there are sections where the paint didn’t remove, reapply the aircraft remover and repeat.
Once all the paint is removed, wash the pad down with soap and water. Discard of any materials touched by the aircraft remover and do a thorough cleanup.
Step 3: Prepping for primer
Grab your sander. Sand down all the edges of the pad in smooth strokes. If there’s any little chips of paint left, make sure you sand those out.
Once done, clean the pads again with soap and water.
Step 4.1: Refresh your painting skills
Alright folks, we’re moving into spray paint territory. Once you get the hang of it it’s pretty easy to work with, but if you haven’t used spray paint before watch this quick video for some tips and techniques. It can be easy to mess up your paint job if your paint runs (you don’t want that).
Step 4.2: Priming
Your pads should be clean with soap and water from the previous steps. Grab a paper towel and some rubbing alcohol and wipe down the entire paintable surface to remove any residue.
Grab the Rustoleum Rust Reformer and ensure you protect anything in your area you don’t want spray painted. Open a window and grab a dust mask, you really don’t want to breathe this stuff in.
Also make sure your area is free of debris and dust. Little particles of whatever can stick to the paint while it’s drying leaving you with an uneven surface.
Before painting, wipe your surface with a microfiber cloth to get rid of any last dust bits.
Apply a single coat of Rust Reformer to the pads. Take your time and apply in smooth, even strokes.
Once you’re done, leave to dry for 24 hours.
Step 5: Painting colour
Once the Rust Reformer is dry, grab the Dupli-Color Automotive coloured paint.
Apply the paint in smooth, even coats. Make sure not to spray too much or you’ll get drips which are a pain to fix.
Let the first coat dry for about 20 minutes. I applied 3 coats for mine, if you’re using a lighter colour you may want to apply one more. Wait for 20 minutes of dry time between coats then let sit for 3-5 hours before applying the top coat.
Step 6: Top coat
Grab your Dupli-Color automotive top coat and repeat the painting process. Apply 3 top coats, leaving about 30 minutes dry time between coats.
Step 7: Wait… okay done!
By now you should have something that looks like this.
Dupli-Color recommends waiting an hour to handle after the top coat is dry, though I recommend letting the pads dry for at least 6 hours before moving. Considering the time you’ve put into this project it’s worth being extra cautious to protect your work.
Clean up your work area and reassemble your pads. You’re done!
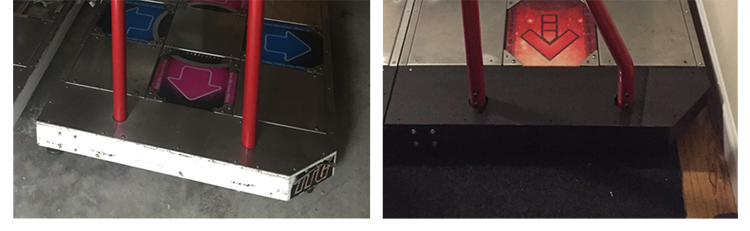
Nooice.
0