Arrow Panels Part 0: Restoring Polycarbonate
Here I’ll be covering how to strip the graphics from your existing panels and restore the polycarbonate to make them ready for new decals.
Project Breakdown
Cost: $80
Time: 6 Hours
Skill level: Medium
What You Need
Your own set of arrow panels
Scraper tool
Goo gone
Hair dryer
6 x Nail Polish Remover
Dust Mask
Power Drill
4 x Headlight Restoration Kit
Muscle and patience
Step 1
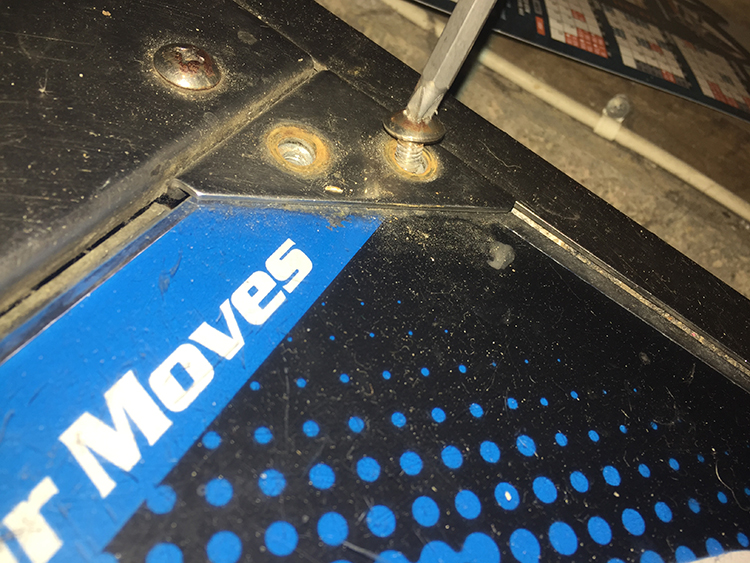
Remove your existing panels from your pad. This should be relatively straightforward, but you may run into a problem if the screws are stripped. See the article for removing screws if you need help here.
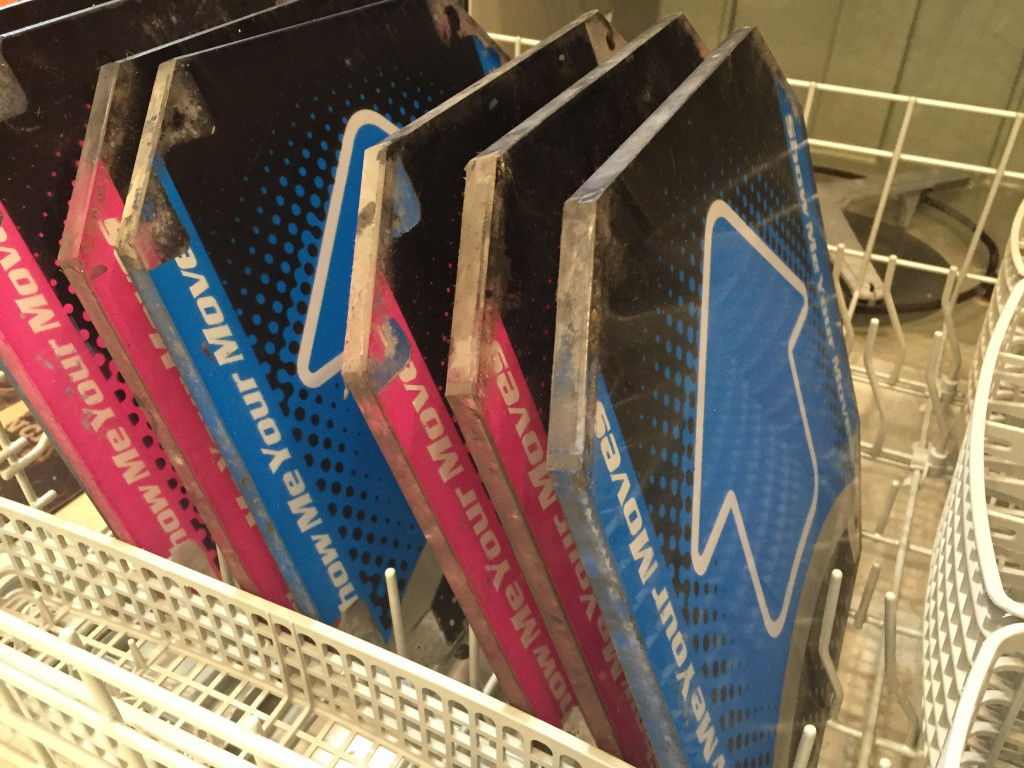
Nasty.
Step 2
Clean the panels. They’re probably disgusting.
If they’re still a little dirty that’s fine, everything will be coming off in the next steps.
Step 3
Get out your scraper tool and a hair dryer.
On a flat surface, start by heating the edges of the underside of the panel. The heat works to break down the adhesive which makes the seal easy to remove.
I found it easiest to work diagonally working in about 3×3″ sections. Heat a section of the panel, scrape it off, repeat.
The sections which sit directly on the sensors will be the hardest to remove. Scrape as much plastic off as you can as in the next steps you’ll be removing the ink and the plastic will get in the way.
Step 4
Now you want to remove the remaining adhesive on the panels. Hit the panel with some Goo Gone and let it sit for about a minute.
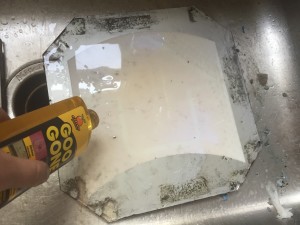
Then scrape off the remaining adhesive with your scraper tool.

Don’t let the cat lick the Goo Gone.
Step 5
This is probably the most tedious part of this project. Factory DDR arrows have ink directly printed onto the polycarb to help them stay looking good. The panels you’re using are probably 10+ years old, and honestly Konami did a pretty good sourcing their printing for these.
This does mean is the ink is not designed to come off. It’ll happen with some muscle and patience but it does take time. I tried both sanding and acetone for removal, and a combination of both seems to work best.
First, grab some nail polish remover (FYI, any plastics specialist will tell you not to do this as it can damage the polycarb). Do not use pure acetone. Pure acetone will eat right through the ink and damage your panel. Liberally pour the nail polish remover onto the panel.
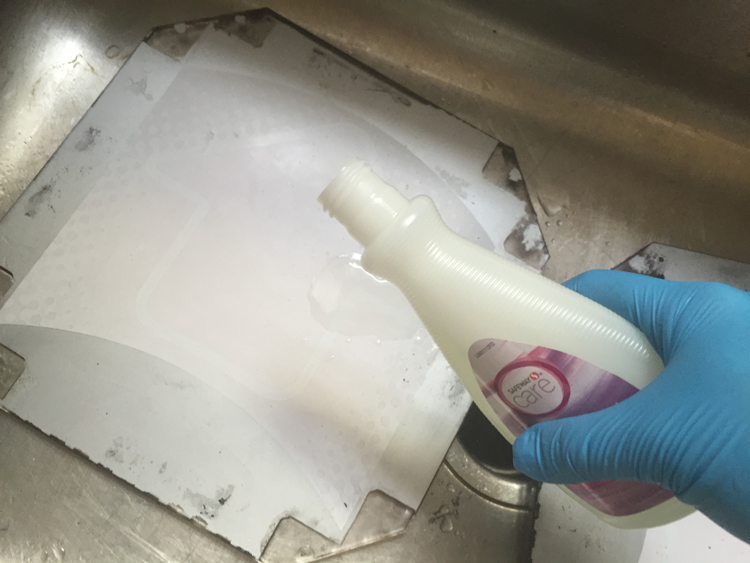
Do not let this sit for more than 30 seconds! If you do, the nail polish remover will eat into the plastic.
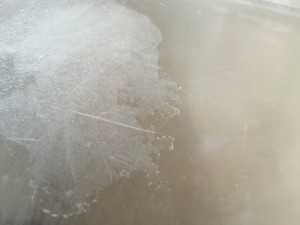
Acetone-damaged plastic. This is what you don’t want. Learn from my mistakes.
After about 30 seconds start scrubbing the ink off. Scrub hard. Go full hulk on scrubbing. This stuff really doesn’t want to come off, but you’ll get there.
I used a bristle dish brush but anything with an abrasive surface will work. Don’t worry about scratching the panel since you’ll be doing that later anyways.

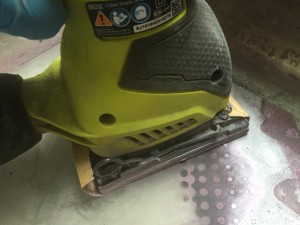
Step 6
STOP! Before going any further put your dust mask on. Do it now. Sanding plastic can be dangerous and you don’t want any of those little plastic dust particles in your lungs causing all sorts of problems.

Only you can prevent forest fires.
In the previous step, be sure to get as much ink off as you can. If you don’t get it all that’s alright, but in this step you sand. The ink wedges itself in all the grooves of the sandpaper and destroys the effectiveness of it pretty quickly.
Grab your headlight restoration kit. For my project I used a hand sander with the same grit of sandpaper, but the kit comes with a tool to attach it to a power drill. One kit should last for about two arrow panels.
Start with the yellow sanding disk. Hit both sides of the panel. Use firm but even pressure.
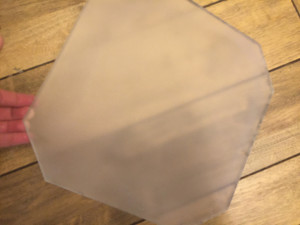
At this stage you’ll end up with a cloudy surface on the panel; it’s supposed to look like that and it’ll get cleaned up with the additional disks.
Flip the panel and repeat.
Give the panel a quick rinse. Next, repeat the process with the white sanding disk to smooth out the surface. Flip the panel and use the white disk on the opposite side.
Rinse and repeat. Use the grey disk to really polish out the surface. Be sure to use water as it will be ineffective without wet sanding. It won’t look like it’s doing much at first, but it will be smoothing out all the little cracks in the surface.
Finally, apply the polish to the panel. Apply liberally but spread evenly. I found it best to let this dry before hitting it with the orange buffer that came with the kit.
Grab the orange buffer and attach it to your drill. Start polishing! I used a different buffer than the one that came with the kit, but the spongey orange one does work better.
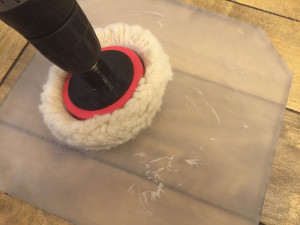
Apply firm pressure when polishing and take your time.
Step 7
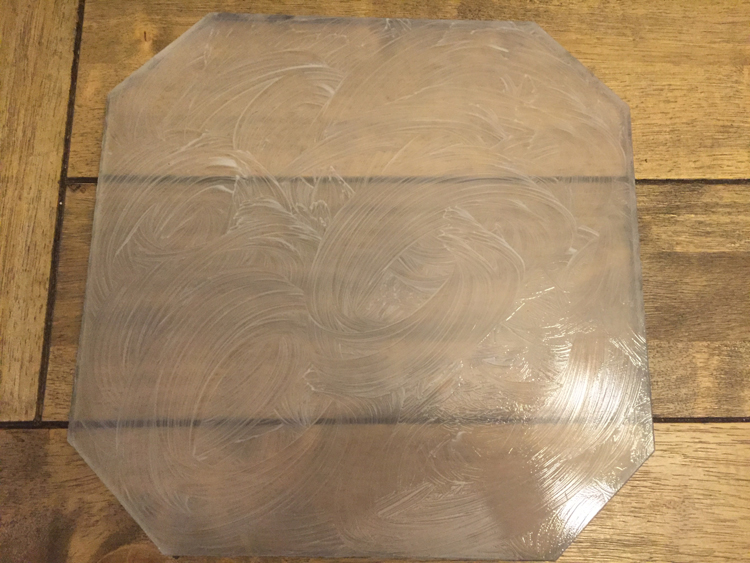
Clean the panel off with soap and water, and grab a drink because you’re done! (Well, after you do the other 7 arrows.) In the end you should have something that looks like this.
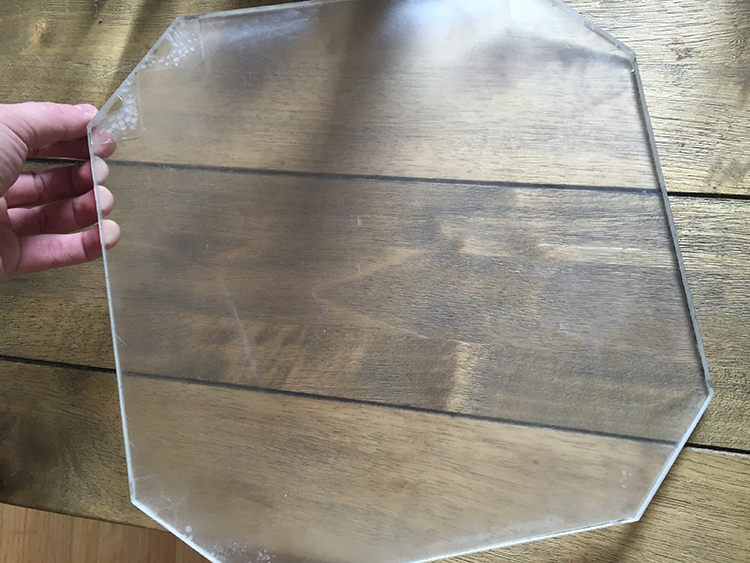
You can see the corners mentioned earlier which were just too worn down to even out with sanding. These get covered up by corner braces in the machine and won’t be that noticeable anyways.
Next, add some graphics to the panels in Arrow Panels Part 2: Arrow Decals!
0